
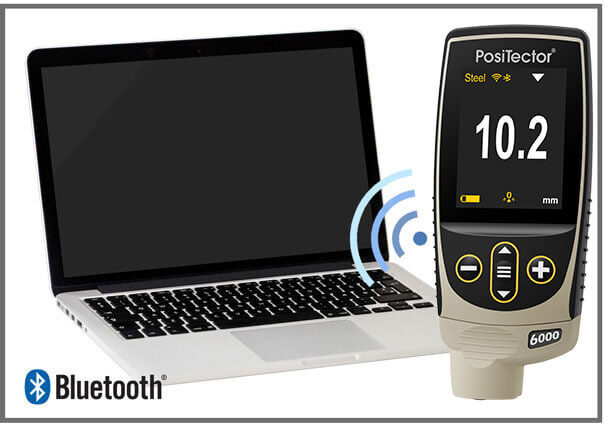
PosiTector with ![]()
This addendum to instruction manual v7.0 is intended to provide support for the Bluetooth Wireless features found in all PosiTector 6000 Advanced models with serial numbers greater than 700000.
(PosiTector 6000 gages with serial numbers under 700000 - click here)
Pairing the PosiTector with your PC using Bluetooth (Windows 7)
To send readings from the PosiTector (Advanced Models) wirelessly to your PC a Bluetooth connection must be set up. This guide explains how to pair a PosiTector with your PC.
Step 1
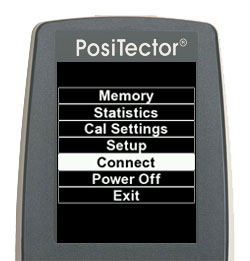
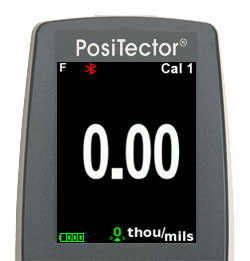
Turn Bluetooth ON within the PosiTector Bluetooth menu
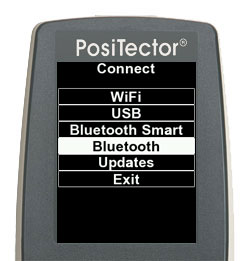
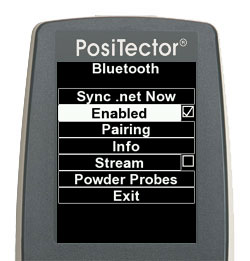
| a) Select the Connect option from the gage menu as shown. | b) Select the Bluetooth option from the Setup menu. | c) Select ON from the Bluetooth menu | d) The Bluetooth icon |
 |
 |
 |
 |
Step 2
Add the PosiTector to your computer as a Bluetooth device
Ensure the Bluetooth device is installed and operational on your PC. If Bluetooth is not a built-in feature on your PC, optional USB Bluetooth dongles are available through DeFelsko or any PC supply store. The Bluetooth allows your PC to communicate with the gage.
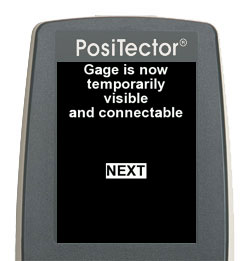
a) Place the PosiTector in discovery mode (visible) to allow the PC to see it as a device.
| 1. Select the Connect option from the gage menu as shown. | 2. Next, select the Bluetooth option from the Setup menu. | 3. Select Pairing from the Bluetooth menu | 4. The message Gage is now temporarily visible and connectableis displayed |
|
|
 |
 |
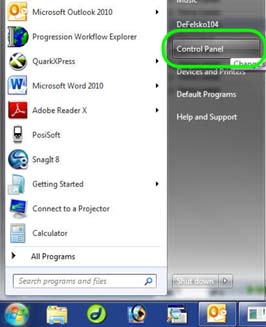
b) On your PC, navigate to the control panel. Click Start, and select Control Panel
c) In the "Search Control Panel" box in the upper right, type Bluetooth.
d) Select Add a Bluetooth Device. The Add a Device dialogue box opens.
e) The wizard will search for the PosiTector. When your gage is found, it will be displayed as PosiTectorXXXXXX, where XXXXXX is the serial number of your gage. With your gage selected, click Next.
f) The wizard prompts you to select a pairing option. Select Enter the device's pairing code. Click Next.
g) The wizard prompts you to enter the pairing code. Enter 0000. Click Next.
h) After the Add Bluetooth Device wizard exits, return to the control panel and search for "bluetooth". Click on Change Bluetooth Settings.
i) In the Bluetooth Settings window, ensure that the box is checked beside Allow Bluetooth devices to find this computer
j) In the COM Ports tab, record the Port in the row with "Incoming" and PosiTectorXXXXXX, where XXXXXX is your serial number. In this example, the port number is COM6. This number will be used in an upcoming step.
Step 3
Configure the Software on Your Computer
Now that your PosiTector and Computer can communicate, PosiTector Desktop Manager (PDM) or other software must be configured to read to COM port specified above.
PosiTector Desktop Manager (PDM) is a small Windows based application which allows automatic two-way communication (synchronization) between the Gage and PosiSoft.net (internet connection required). When installed, PDM runs as a start-up application and resides in the Windows notification area (system tray) of a PC.
To set up PDM for Bluetooth synchronization:
a) Right click on the PosiTector Desktop Manager icon in the taskbar, and select Bluetooth

b) In the Bluetooth window, select the communication port recorded in step 2i and click OK.
Step 4
Pair the PosiTector with your Computer
Now that your computer has been set up to read the PosiTector, the PosiTector must be configured to send readings to the computer.
If the PosiTector is still displaying the Gage is now temporarily visible and connectable, skip to instruction 4 below.
| a) Select the Setup option from the gage menu as shown. | b) Next, select the Bluetooth option from the Setup menu. | c) Select Pairing from the Bluetooth menu | d) The message Gage is now temporarily visible and connectableis displayed |
|
|
|
|
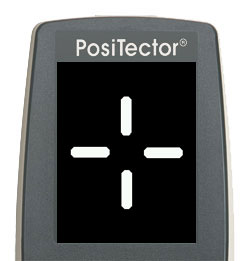
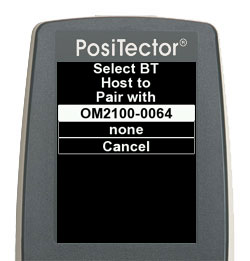
| e) Four bars will rotate for about a minute, while the gage searches for the Bluetooth module on your computer. | f) When the Select BT Host to Pair with dialogue opens, select the name of your computer from the dropdown list (in this example, the computer name is DEFELSKO101). Select OK. | g) Power down the instrument by selecting Power Off from the gage menu. Then turn the gage back on using the center button. If the pairing was sucessful, the Bluetooth icon on the PosiTector and the PosiTector Desktop Manager icon in the taskbar will both turn blue within a minute. | |
 |
 |
  |
|
Using the PosiTector with Bluetooth interface (icon)
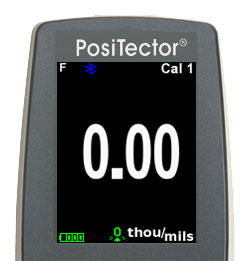
The Bluetooth icon allows the operator to monitor the status of the Bluetooth connection between the gage and computer. There are 2 modes for the Bluetooth icon:
Disconnected: ![]() The PosiTector is not connected to the software on your computer.
The PosiTector is not connected to the software on your computer.
Connected: ![]() The Bluetooth connection has been established between the PosiTector 6000 and PDM or the SPC software on your computer.
The Bluetooth connection has been established between the PosiTector 6000 and PDM or the SPC software on your computer.
Note: Readings will not be transmitted while the Bluetooth icon is in a Disconnected state.
Using Bluetooth-Enabled PosiTector with Statistical Process Control (SPC) Software
SPC programs are available from third party vendors that enhance the measurement capabilities of the PosiTector. With Bluetooth enabled, measurement results are immediately transferred wirelessly from the PosiTector to the SPC using a virtual serial port. In order to use this functionality, ensure that Stream is selected in the PosiTector menu under Connect > Bluetooth.
This means that any program with a serial interface can use readings from the PosiTector using a Bluetooth connection. This below technical article details how to connect and receive the PosiTector with two Statistical Process Control software packages:
- Proficient (by InfinityQS)
- WinSPC (by DataNet systems)
Although this article deals specifically with the above programs, the methods used apply to any other program.

